
1. Choosing the right mount
The mount decides how your TV looks and moves on the wall, so it is the first real choice to make. Base it on where you sit and how high the screen needs to go.
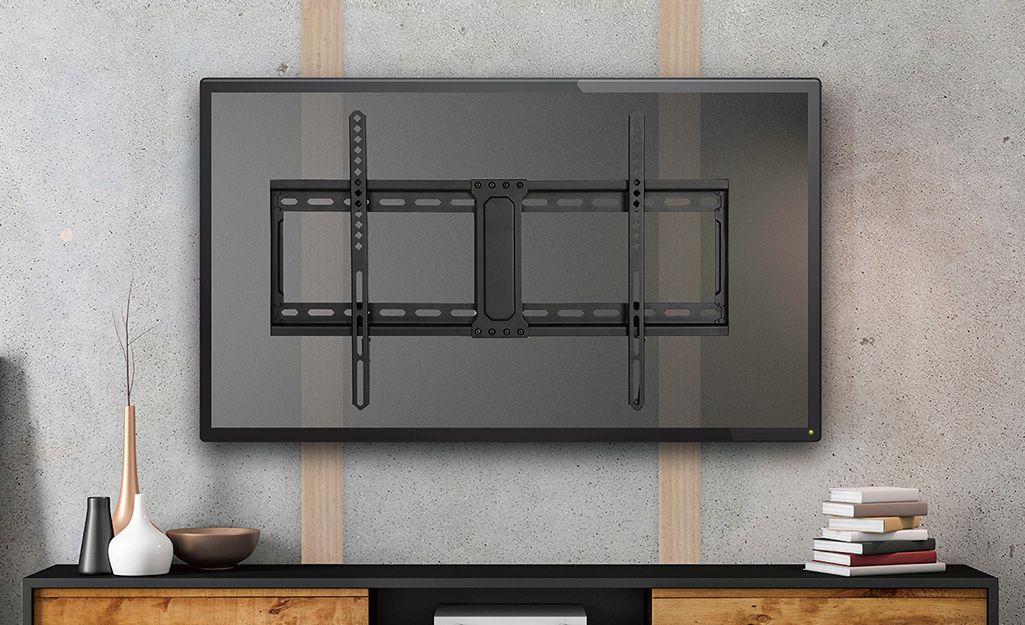
- Fixed mounts keep the screen flat and close to the wall — the tidiest look, best when you watch straight on.
- Tilting mounts angle the screen down, which helps when it is mounted higher than eye level.
- Full-motion mounts pull out and swivel, useful for corners or rooms you view from more than one spot.
Rule of thumb: if the TV sits at seated eye level and you only ever watch from the sofa, a fixed mount is usually all you need. Movement adds cost and complexity you may never use.
2. Understanding VESA and weight limits
VESA is simply the distance in millimetres between the four mounting holes on the back of your TV, written as width × height (for example 400 × 400). A mount lists the VESA range and the maximum weight it supports. Both must comfortably cover your TV — check the screen's spec sheet, not just its diagonal size.
- Find the VESA pattern in your TV manual or by measuring hole-to-hole.
- Confirm the mount's weight rating exceeds your TV's weight, with margin.
- Use the screws supplied with the mount — length matters for the threads.
3. Wall types and fixings
What is behind the surface decides everything about how the mount is fixed. Guessing here is the most common and most dangerous mistake.
Timber stud (plasterboard over wooden studs)
Fix directly into the studs — never into the plasterboard alone. A stud detector finds them; they are usually evenly spaced.
Solid masonry (brick or block)
Strong and reliable with the correct wall plugs and masonry screws, but it needs a hammer drill and the right bit.
Plasterboard / drywall without a stud behind
The riskiest case. Only lightweight screens with rated hollow-wall anchors belong here, and many installers avoid it for larger TVs entirely.
If you are unsure what your wall is made of, stop. The cost of a failed fixing is a falling television. This is the point where many people choose to bring in a qualified installer.
4. Getting the height right
A popular starting point is to place the centre of the screen at eye level when you are seated — often somewhere around 100–130 cm from the floor to the middle of the screen, depending on your sofa and screen size. Treat it as a guide, not a law.
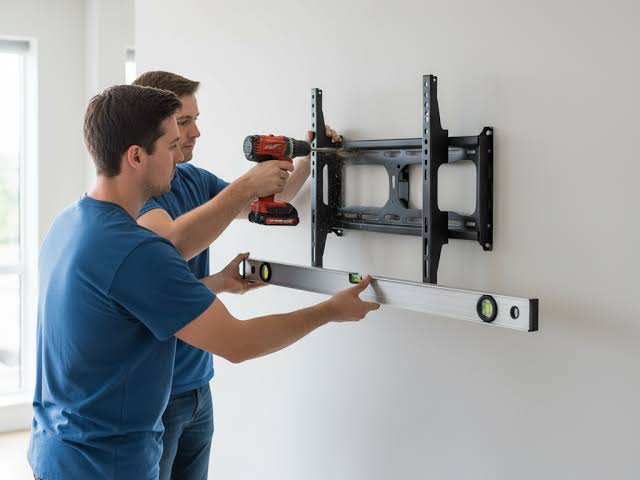
- Sit where you normally watch and have someone hold the TV in place.
- Mounting above a fireplace almost always calls for a tilting mount.
- Higher is not better — looking up for long periods is tiring.
5. Managing the cables
Neat cables are what separate a professional-looking install from an obvious DIY one. There are two common routes.
- Surface trunking: a paintable channel on the wall. Simple, removable, and safe for power cables.
- In-wall routing: cleaner, but mains power must use proper in-wall rated kits or an electrician — never run a standard power lead inside a wall.
6. A pre-drill checklist
Before the first hole, you should be able to tick every one of these.
- Mount VESA and weight rating both match the TV.
- Wall type identified and correct fixings on hand.
- Studs, pipes, and cables located and avoided.
- Height dry-fitted and checked from your seat.
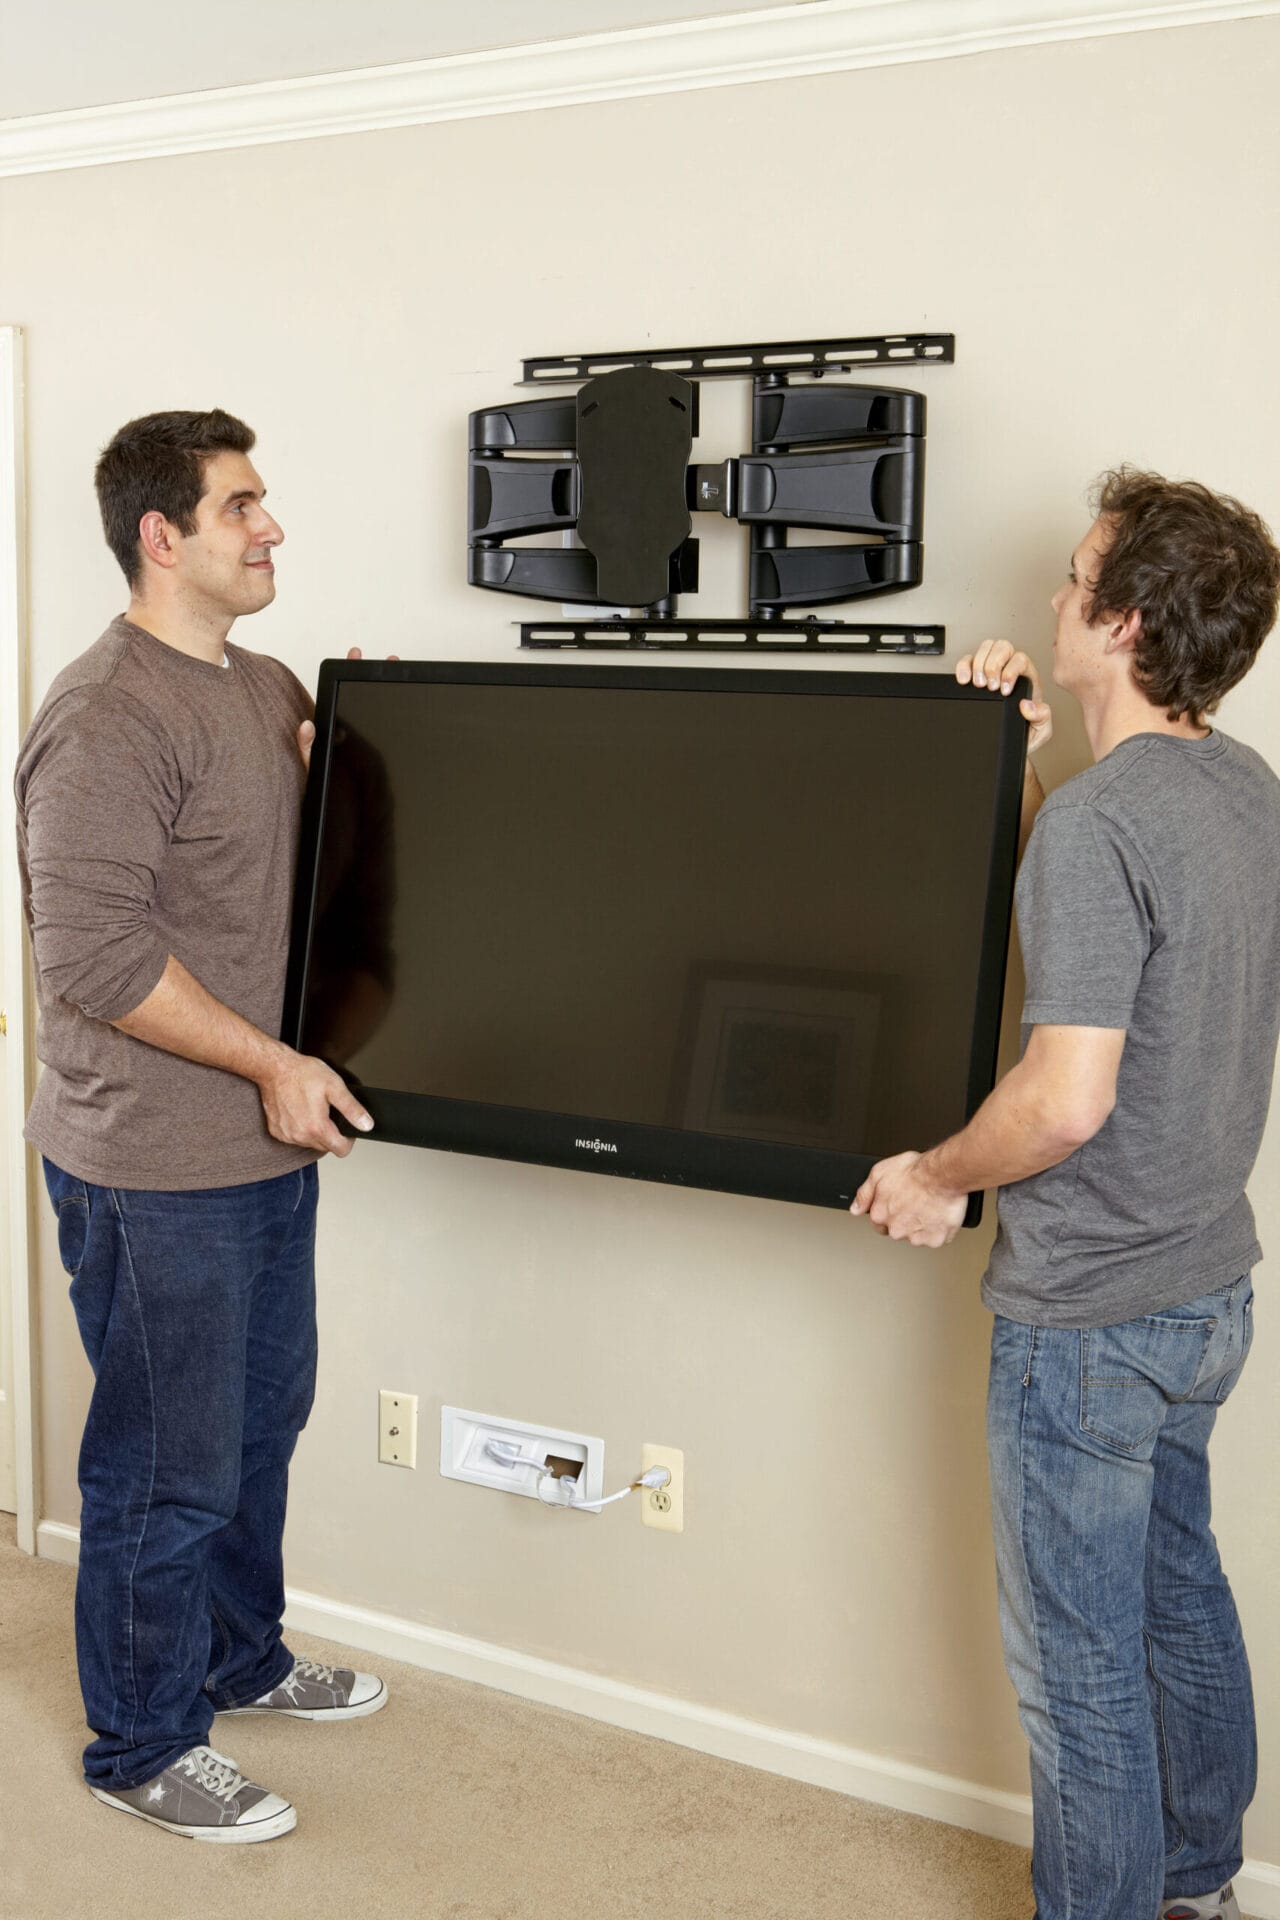
- A true level line marked, and a second pair of hands ready.